
 Español


Picture a new hydraulic line that starts weeping at a compression fitting after only a week in service. The fitting is rarely the real problem. In most cases, the error happened during installation: the tube was not deburred, the nut was over-tightened, or the wrong thread sealant was used. The good news is that pipe fitting installation is a repeatable process. Once you understand the connection type, prepare the tube end, and apply the correct torque, you can install threaded, compression, or flare fittings with confidence. This guide walks through the installation methods used in industrial and instrumentation piping, with the tolerances and checks that keep joints leak-free.
Choose the Right Connection and Fitting Type
Before picking up a wrench, identify the pipe material and the connection standard you are working with. The main categories are threaded fittings, compression (ferrule) fittings, flare fittings, and welded connections. Threaded fittings are common for low-pressure water and gas lines; compression fittings dominate instrumentation and hydraulic tubing because they are easy to modify; flare fittings handle high-vibration hydraulic systems; and welded connections are used where permanent joints are required. Each type has different prep and tightening requirements.
Choosing the right fitting type is also a matter of geometry: tees and wyes split flow, elbows change direction, couplings and unions connect two lengths, and adapters bridge different standards. If you are just starting out, our guide to types of pipe fittings covers the main shapes and materials.
| Connection Type | Typical Media | Key Tool | Critical Step |
|---|---|---|---|
| Threaded | Water, gas, low-pressure lines | Wrenches, thread sealant | Clean threads and apply sealant |
| Compression (ferrule) | Instrumentation, hydraulic fluids | Two wrenches, tube cutter, deburring tool | Bottom the tube and tighten to specified turns |
| Flare (37°) | High-vibration hydraulic systems | Flaring tool, wrenches | Form the flare cone and inspect for cracks |
| Welded | Permanent high-pressure lines | Welding equipment | Clean the weld area and purge if needed |
Understanding the pressure rating and temperature range of the fitting is equally important. A fitting rated for 3,000 psi at ambient temperature may not be suitable for high-temperature steam service.
Mark, Cut, and Deburr the Tube
A clean, square cut and a burr-free end are not optional. Using a hacksaw creates a rough edge and can leave metal shavings that later contaminate the system and damage ferrule sealing faces. Use a wheel-type tube cutter for tubing up to about one inch, then remove the internal burr with a deburring tool. For stainless steel, a fine file or deburring blade works. The cut should be square: a visibly sloped end can force the ferrules out of alignment and cause leaks.
Material quality matters too. A low-grade tube with surface scratches or ovality will not seal well even with a good fitting. Our stainless steel seamless tubing is often used for instrument and hydraulic lines because the uniform wall and smooth bore reduce vibration and failure points. When choosing tubing, check the outer diameter tolerance (for example, ±0.003 inches for common sizes) and confirm the wall thickness matches the pressure rating.
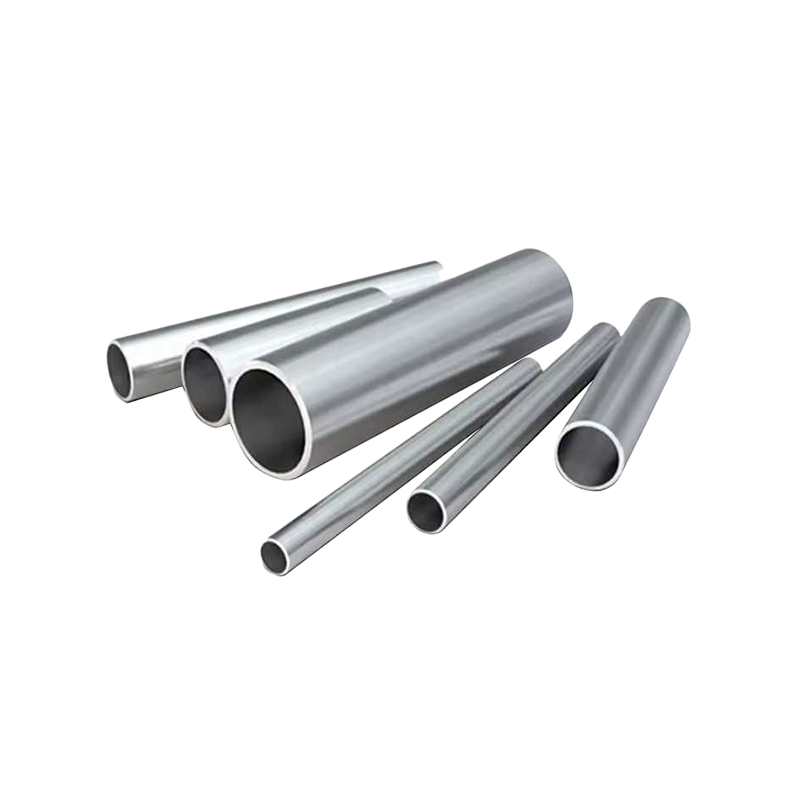 Wholesale Stainless Steel Seamless Tubing / Pipe Factory, Manufacturers - NantonNantong Samson Precision Industry Co., Ltd. is China wholesale Stainless Steel Seamless Tubing / Pipe manufacturers and factory, The manu...View Product →
Installing Threaded Pipe Fittings
Threaded joints seem straightforward, yet they fail more often than any other connection type because of over-tightening, poor thread preparation, or mismatched threads. The key is to keep the threads clean, use the right sealant, and stop at the right point. Teflon tape lubricates the threads and helps them seat, but it does not fill gaps in damaged threads. For stainless steel, always add an anti-seize compound as well to prevent galling.
- Clean both the male and female threads with a wire brush or solvent.
- Wrap Teflon tape clockwise around the male threads for three to five turns, leaving the first thread exposed.
- Start the fitting by hand and run it in until snug.
- Use a wrench for the final turn only, stopping when the fitting is at the intended angle and resistance builds.
One caution: do not use Teflon tape on flare or compression fittings. Those connections rely on metal-to-metal contact, and tape can interfere with the seal. Also, avoid combining different thread types such as NPT and BSP without a proper adapter.
Installing Compression Ferrule Fittings
Compression fittings are the standard in instrumentation and hydraulic tubing because they make re-assembly easy and maintain a tight metal-to-metal seal. The two common designs are double ferrule and single ferrule. A double ferrule fitting has a front ferrule for sealing and a rear ferrule for gripping and absorbing vibration; a single ferrule combines both functions in one part. For most instrument applications, our stainless steel double ferrule tube fittings are a reliable choice because the two-ferrule design distributes the load and is less sensitive to minor tube variations.
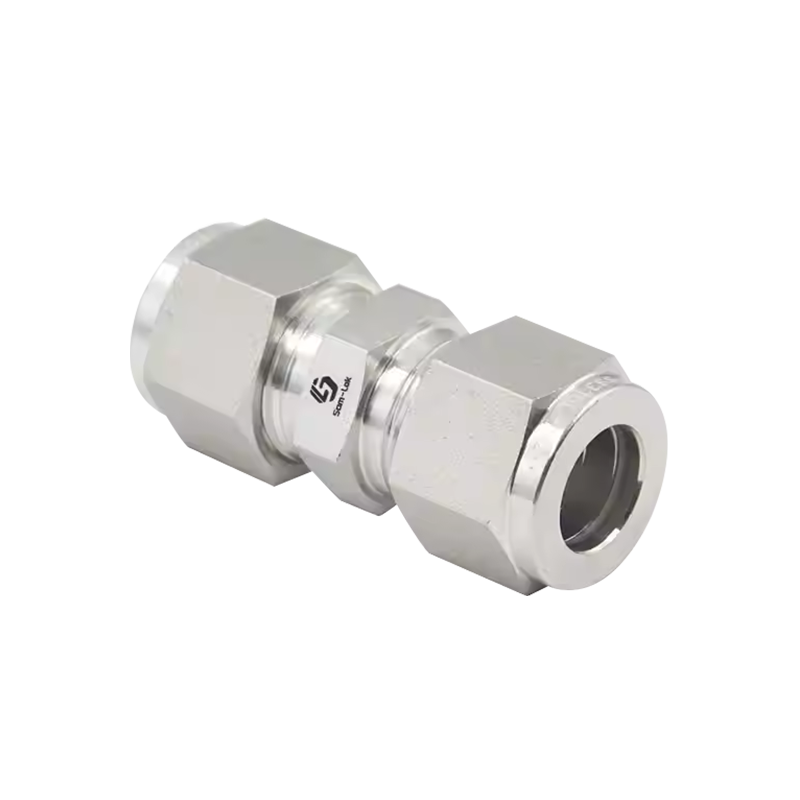 Wholesale Stainless Steel Union Compression Tube Fittings Factory, ManufacturersNantong Samson Precision Industry Co., Ltd. is China wholesale Stainless Steel Union Compression Tube Fittings manufacturers and factory,...View Product →
- Slide the nut and ferrules over the tube end in the correct order: nut, back ferrule, front ferrule for a double-ferrule type.
- Insert the tube into the fitting body until it bottoms out against the shoulder.
- Hand-tighten the nut until you feel resistance, then mark the nut and body with a line.
- Tighten the nut one and a quarter turns from the hand-tight position (some manufacturers specify one and a half; always follow the maker's spec). For single-ferrule types, about one full turn is typical.
- Hold the body with a backup wrench and tighten the nut with a second wrench to avoid bending the tube.
For hydraulic lines with heavier tubing or higher pressure, a stainless steel hydraulic single ferrule fitting offers a compact grip and good resistance to shock. The installation is similar, but because the ferrule is longer and does the whole job, make sure the tube is fully inserted and that you do not under-tighten.
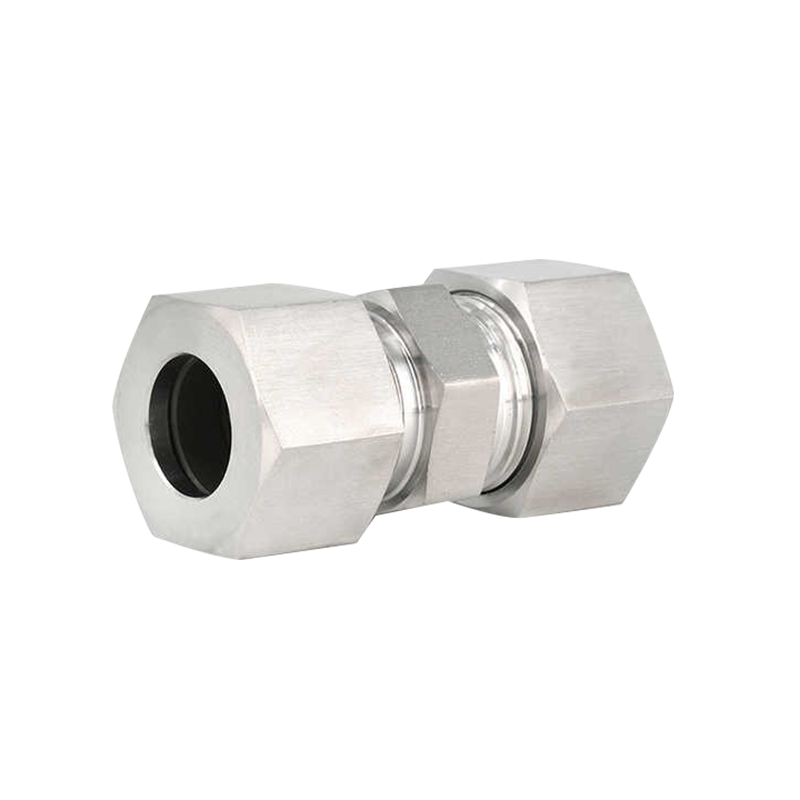 Wholesale Stainless Steel Hydraulic Union Fitting Factory, Manufacturers - NantoNantong Samson Precision Industry Co., Ltd. is China wholesale Stainless Steel Hydraulic Union Fitting manufacturers and factory, Stainle...View Product →
Flare and Welded Connections
Flare fittings are common in medium-pressure hydraulic systems. The tube end is mechanically expanded into a 37-degree flared cone for JIC connections, or a 45-degree cone for automotive connections. The most common error is not flaring enough: the flare should form a smooth, even cone that matches the seat without cracks. Use a flaring tool with the correct die for the tube size, and inspect the flare under good light. If the nut slips off or the flare collapses during tightening, cut the tube and start over. Flaring stainless steel requires more pressure than copper or aluminum, so use a tool rated for the material. For stainless steel, use hardened dies and listen for cracking; if you see a split edge, that flare has to be cut off and re-formed, never repaired by over-tightening.
Welded joints and metal-seal connections are for permanent or high-purity systems. For example, VCR-type fittings use a gasket and gland to create a leak-tight joint for semiconductor-grade piping; these assemblies require careful alignment and usually a torque wrench. Because the installation tolerance is narrow, follow the manufacturer's torque values instead of tightening by feel.
Pressure Test and Final Checks
After completing the connections, do not put the system into service immediately. Apply a soap-and-water solution or commercial leak detector to each joint while the system is pressurized to its working pressure, or to the test pressure specified by the job. Bubbles indicate a leak. For air systems, hold pressure for at least 15 minutes and monitor the gauge. For hydraulic systems, pressurize slowly and cycle the valves to let the ferrules settle. The soap test works for gas systems too; for larger leaks, you may hear a hiss before bubbles appear. Always respect the system's operating pressure limits and use pressure relief devices during testing.
Also check that long unsupported runs are secured. Pipe clamps prevent vibration, which is the main cause of loosened nuts and work-hardened tube ends. Finally, label any fittings that require periodic re-tightening; certain compression fittings may need a small re-torque after the first thermal cycle.
The key takeaway: a fitting leak is rarely the fitting's fault. Most leaks trace back to a skipped deburring pass, a sloppy thread wrap, or an over-enthusiastic wrench. Take the time to identify the connection standard, prepare the tube correctly, and tighten to the recommended spec. That habit will save you hours of troubleshooting and keep your fluid system running dry and safe.
