
 Español



A valve core leak can be subtle at first — a damp spot around the stem, a tiny drop forming beneath the gland nut — but left unchecked, it can lead to lost media, higher energy costs, and unsafe working conditions. The good news is that most valve core leaks are repairable. With a few basic tools, the correct replacement seals, and a methodical approach, you can often restore a valve to leak-tight operation in well under an hour. In this guide, we explain how to fix a valve core leak, from accurate diagnosis through step-by-step repair to the habits that prevent it from coming back.
What Is a Valve Core and Why Does It Leak?
The valve core is the internal assembly that controls flow — the stem, the seat, and the sealing elements inside a valve such as a ball valve, needle valve, or check valve. When maintenance staff talk about a "core leak," they usually mean one of two things:
- External leakage — media escaping past the stem seal or packing, often visible around the gland nut or bonnet area.
- Internal leakage — media passing through the seat even when the valve is in the closed position.
External and internal core leaks have different root causes. External leaks are most commonly traced to worn O-rings, degraded packing, a loose gland nut, or scoring on the stem surface. Internal leaks, by contrast, are usually caused by debris trapped on the seat, a scratched sealing surface, or gradual erosion of the core from years of service.
Diagnosing the Leak Before You Start
Before reaching for a wrench, take the time to identify exactly where the leak is and what is driving it. A proper diagnosis saves effort, avoids unnecessary disassembly, and ensures you replace the right parts. Start by isolating the valve and relieving system pressure, then wipe the area clean and watch closely as pressure is carefully reapplied.
| Leak Location | Symptom | Most Likely Cause |
|---|---|---|
| Stem / gland area | Dampness or a drip around the stem | Worn O-ring or loose packing gland |
| Seat / closed position | Media weeps past the seat when closed | Debris, scratched seat, or eroded core |
| Bonnet / body joint | Weeping at the threaded or bolted joint | Damaged gasket or under-tightened bonnet |
Check valves often leak internally when the sealing element fails to seat cleanly, while needle valves typically develop external stem leaks as the packing wears. Identifying the type early makes the repair far more predictable.
How to Fix a Valve Core Leak: Step-by-Step
Once you have a clear diagnosis, gather the necessary tools and follow these steps carefully. Safety always comes first: depressurize the line, wear protective eyewear, and confirm the system is fully isolated before you begin disassembly.
Tools and Materials You Will Need
- Adjustable wrench plus the correct sized wrenches for the valve
- A replacement O-ring or packing kit matched to your valve
- PTFE tape or thread sealant
- A lint-free cloth and a compatible cleaning solvent
- Safety glasses and work gloves
Repair Steps
- Isolate and depressurize the system. Close the upstream and downstream valves, then vent or relieve pressure slowly. Never work on a pressurized valve.
- Disassemble the valve carefully. Remove the bonnet, gland nut, or cover, following the manufacturer's instructions, and keep every component organized.
- Inspect all sealing surfaces. Look for scoring, pitting, or embedded debris on the stem, the seat, and the sealing faces.
- Clean the components. Wipe away old grease, dirt, and media residue with a suitable solvent and a lint-free cloth.
- Replace the worn seals. Install new O-rings or packing material, applying a light lubricant if the seal material allows it.
- Reassemble to the correct torque. Tighten the gland nut or bonnet to the manufacturer's specification — over-tightening is one of the most common causes of repeat leaks.
- Pressure test the valve. Gradually reintroduce pressure and watch closely for any weeping at the stem, seat, or body joint.
On a standard stainless steel needle valve, for example, the stem O-ring is often the only component that has worn. Replacing that seal and reassembling the valve correctly will stop the leak and restore smooth, precise flow control.
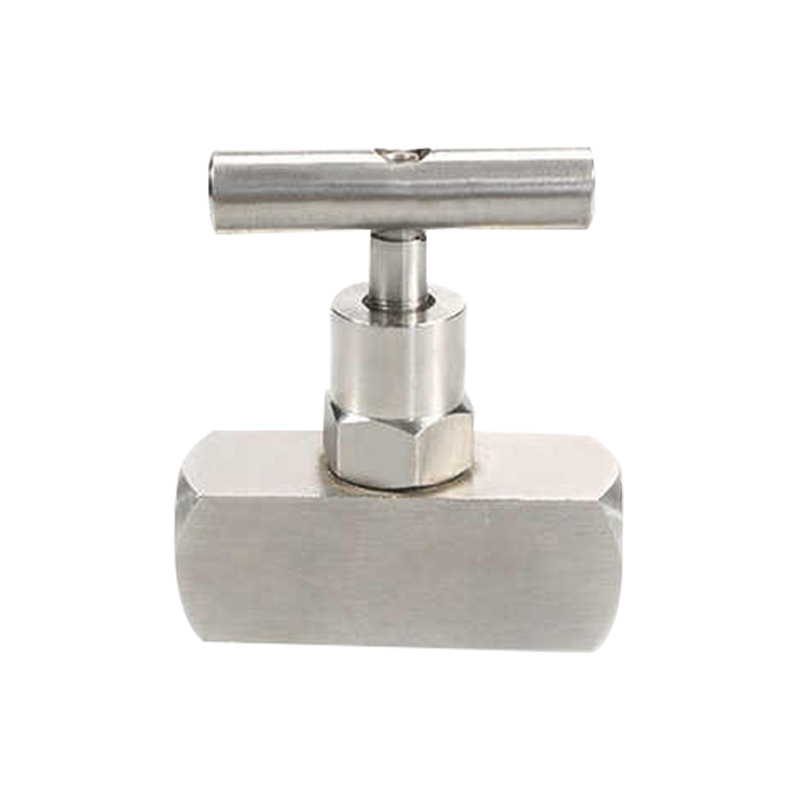 Precision Stainless Steel Needle Valve for High-Pressure Flow ControlWhen repair is no longer viable, this needle valve offers reliable flow regulation with a mirror-polished bore and corrosion-resistant construction for demanding industrial conditions.View Product →
When Repair Is Not Enough: Replace the Valve
Not every valve core leak is worth repairing. If your inspection reveals heavy corrosion, cracked or deformed seats, stripped threads, or repeated seal failures, the safer and more cost-effective option is to replace the valve altogether. Continuing to repair a severely worn core risks premature re-leakage, unscheduled downtime, and higher long-term costs.
When choosing a replacement, look for a valve with a solid one-piece body, quality sealing materials, and precision-machined stems. An instrument ball valve or a forged needle valve with well-designed internal components will deliver a longer service life and simplify future maintenance.
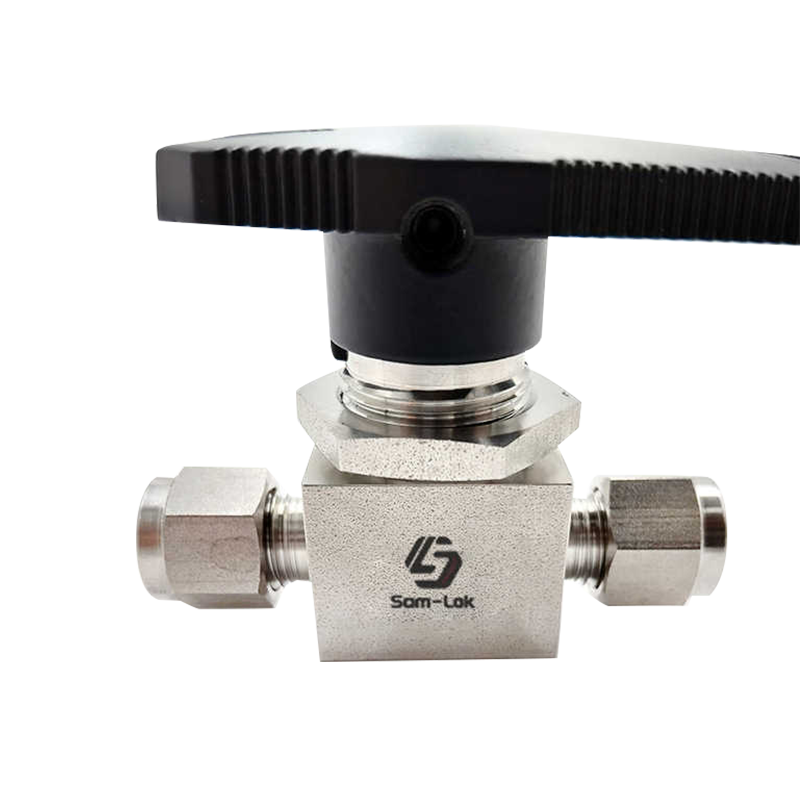 Stainless Steel Double Ferrule Ball Valve for Extended Service LifeOne-piece body and top-entry design allow online inspection, with high-pressure performance up to 3000 psig and precise flow control for extreme temperatures.View Product →
Preventing Valve Core Leaks in the Future
Prevention is almost always less expensive than repair. A few straightforward habits can dramatically reduce the risk of valve core leaks across your plant:
- Install with the correct torque. Over-tightening distorts the seals, while under-tightening leaves them loose. Always follow the manufacturer's torque specifications.
- Keep the media clean. Dirt and particles are among the biggest causes of seat damage. Consider installing strainers or filters upstream of sensitive valves.
- Exercise the valves regularly. Moving stems and seats periodically prevents seals from sticking and extends packing life.
- Choose compatible materials. Confirm that the seal elastomers and body materials are rated for your media, temperature, and pressure range.
Following a regular schedule for maintaining stainless steel valves also makes a real difference in avoiding unplanned shutdowns. And if a leak is actually coming from a worn compression connection rather than the valve itself, upgrading to a quality double ferrule fitting can restore the full integrity of the line.
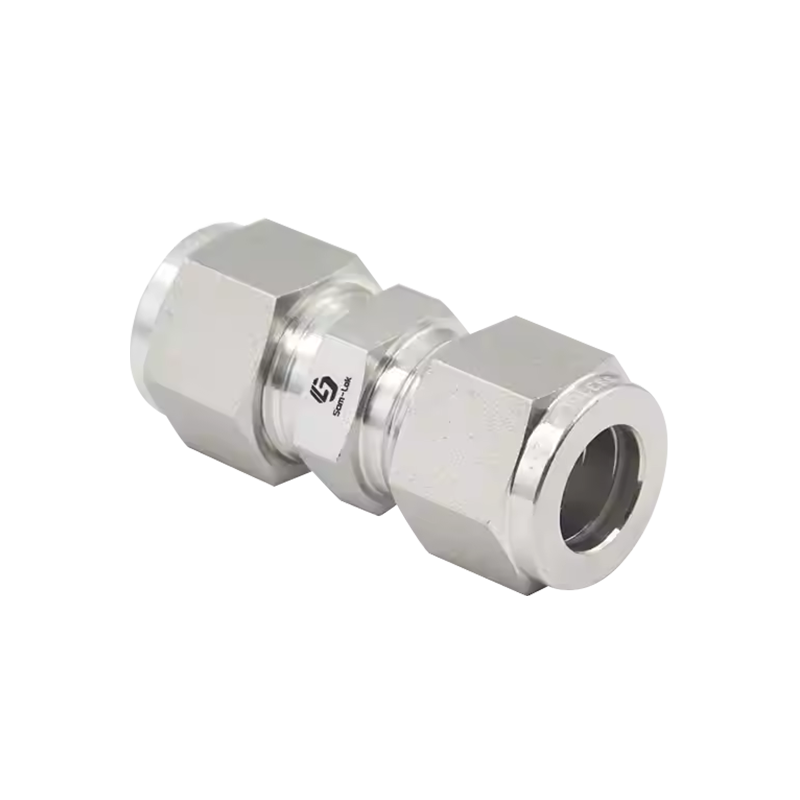 Forged Stainless Steel Union Compression Tube FittingsDouble ferrule connection ensures leak-free sealing up to 6000 psi, with easy disconnect and compatibility with water, oil, gas, acids, and bases.View Product →
Fixing a valve core leak is well within reach for most maintenance teams. Start with a clear diagnosis, carry out a careful disassembly and seal replacement, and always pressure-test before returning the line to service. When repair no longer makes sense, choose a quality replacement and protect it with good installation and maintenance habits. At Nantong Samson Precision, we have spent more than 13 years helping customers keep industrial fluid systems running leak-free. If you need assistance selecting the right replacement valve or fitting, our team will be glad to help.
