
 Español



A leaking ball valve is one of those problems that starts small and can grow into a real headache. Maybe you have noticed a damp patch under the handle, or perhaps the valve is passing water even when it is fully closed. After more than a decade of manufacturing ball valves for industrial, hydraulic and instrumentation systems, we have learned that most leaks are easy to diagnose, and a good number can be fixed with nothing more than a wrench and a few spare seals. This guide walks you through the repair process step by step, from finding the source to testing the finished job.
Find the Source Before You Fix the Leak
Before you take anything apart, figure out where the fluid is actually escaping. A ball valve can leak in four places, and each one needs a different approach. Taking two minutes to check the symptoms can save you an hour of unnecessary work.
| Leak Location | What You Will Notice | Most Likely Cause |
|---|---|---|
| Stem (around the handle) | Dripping or weeping near the packing nut | Loose or worn stem packing |
| End connections | Leak at threaded or compression joints | Loose fittings, worn thread seal |
| Body seam (two-piece valves) | Moisture along the body joint | Damaged body gasket |
| Internal seat | Flow continues when the valve is closed | Worn seats, debris, damaged ball |
Gather the Right Tools and Spare Parts
Most ball valve repairs are straightforward if you have everything ready before you start. The exact list depends on the valve design, but the following covers nearly every situation:
- Adjustable wrench or a set of open-end wrenches
- Hex key set for the handle screw
- PTFE thread seal tape
- Replacement O-rings and seat seals compatible with your valve
- Small screwdriver or pick for removing old seals
- Clean rags and a bucket
- Silicone-free valve grease for reassembly (optional)
Fixing a Stem Leak Around the Handle
Stem leaks are by far the most common issue we hear about from customers. The stem packing sits around the valve stem and is compressed by a packing nut. Over time, temperature changes and frequent cycling can loosen this compression, and the leak appears right around the handle.
- Close the valve and relieve downstream pressure.
- Loosen the handle screw and pull the handle off to expose the packing nut.
- Tighten the packing nut a quarter turn at a time, checking for leaks between adjustments.
- Reinstall the handle and test the valve.
If a quarter or half turn does not stop the leak, the packing is probably worn out. On many modern ball valves, the packing can be replaced without removing the whole valve from the line, but you have to be careful not to scratch the stem surface. Overtightening the packing nut is a common mistake; it will stop the leak but make the valve very hard to turn, and it accelerates wear on the stem.
Repairing Leaks at End Connections and the Body
Leaks at threaded connections are usually caused by insufficient thread sealant or a nicked thread. Shut off the line, unscrew the valve, clean the threads thoroughly, wrap them with several layers of PTFE tape in the direction of the thread, and reinstall. Do not overtighten: a valve body is not designed to be used as a lever.
Compression fittings are a different story. A double ferrule fitting seals by gripping the tube, so a leaking joint usually means the nut was not tightened to the correct torque, or the tube was not pushed in far enough. Loosen the nut, seat the tube firmly against the shoulder of the fitting, and retighten following the recommended turn count for that fitting size. If the leak continues, the ferrules are probably distorted from overtightening, and they should be replaced.
Body leaks on a two-piece ball valve mean the gasket between the body halves has failed or the bolts have loosened. Try tightening the body bolts evenly in a cross pattern, a little at a time. If the weeping continues, the gasket needs to be replaced during disassembly.
Dealing With an Internal Seat Leak
When flow continues even after the handle is fully closed, the problem is inside the valve. Debris trapped between the ball and the seat is the most common culprit, but worn PTFE seats, a scratched ball surface, or a misaligned stem can also prevent a tight shutoff.
There is no external adjustment for an internal seat leak. If you work with instrumentation systems, our guide on troubleshooting leaking ball valves in process lines covers several additional scenarios that are worth reading. In most cases the valve has to be disassembled, inspected and rebuilt, and the next section walks you through exactly that.
Disassembly, Cleaning and Inspection
Work slowly and keep the parts in order. A small tray or a piece of cardboard makes it easy to lay out components as they come off.
- Shut off the upstream isolating valve and depressurize the line completely. Open the faulty valve briefly to release any trapped pressure.
- Remove the handle by loosening the handle screw with a hex key.
- Unscrew the packing nut and slide the stem out of the body. Note the order of every part as you remove it.
- On two-piece valve designs, loosen the body joint and separate the halves to access the ball.
- Remove the ball and both seat seals. Inspect the ball surface for scratches, pitting or embedded debris.
- Clean all metal parts with a soft, lint-free cloth. Avoid abrasive pads, which scratch the ball surface and create new leak paths.
- Inspect the seat seals for flat spots, cuts or hardening. Worn PTFE seats and O-rings are the most common parts to replace.
If the ball is deeply scored, polishing it will not restore a leak-tight seal. A badly damaged ball is one of the few cases where full valve replacement makes more sense than repair.
Reassembling and Testing the Valve
Reassembly is mostly the reverse of disassembly, but a few details make the difference between a valve that works and a valve that leaks again next month.
- Apply a light film of valve grease to the new seat seals to keep them in position during assembly.
- Place the seats, insert the ball, and make sure the stem aligns correctly with the notch on the ball.
- Rejoin the body halves and tighten the bolts evenly in a cross pattern.
- Reinstall the stem and packing, and tighten the packing nut just enough that the handle turns smoothly.
- Refit the handle and secure the screw.
- Slowly open the upstream supply and check the stem, body and connections for leaks.
- Cycle the valve open and closed several times, then recheck every joint.
A short pressure test after reassembly is always good practice. Hold the valve at its rated working pressure for a few minutes and watch for pressure drop or weeping. Even a repaired valve deserves to be tested before it goes back into service.
When Replacing the Valve Is the Right Call
Not every leak deserves a repair. If the body is cracked, the ball is badly worn, or replacement seals are no longer available for your valve, a new valve will be cheaper and more reliable in the long run. Repeated repairs on a valve that has already failed twice are rarely worth the time.
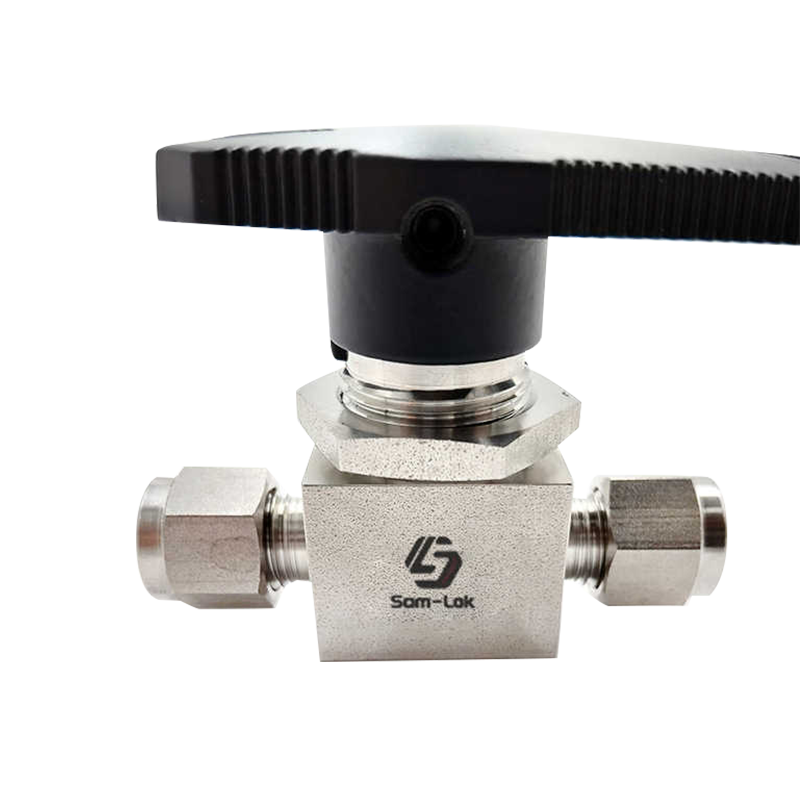 Stainless Steel Double Ferrule Ball Valve for High-Pressure InstrumentationThis precision-machined ball valve provides a leak-tight, weld-free connection ideal for replacing worn or failed valves in high-pressure fluid systems.View Product →
For instrument and tubing systems, a ball valve with precision-machined components and high-quality seals will hold up far better than a generic low-spec valve over years of cycling. When you choose a replacement, check the working pressure, the seat material, and the connection type. A double ferrule ball valve, for example, gives you a leak-tight connection without welding, which makes future maintenance much easier.
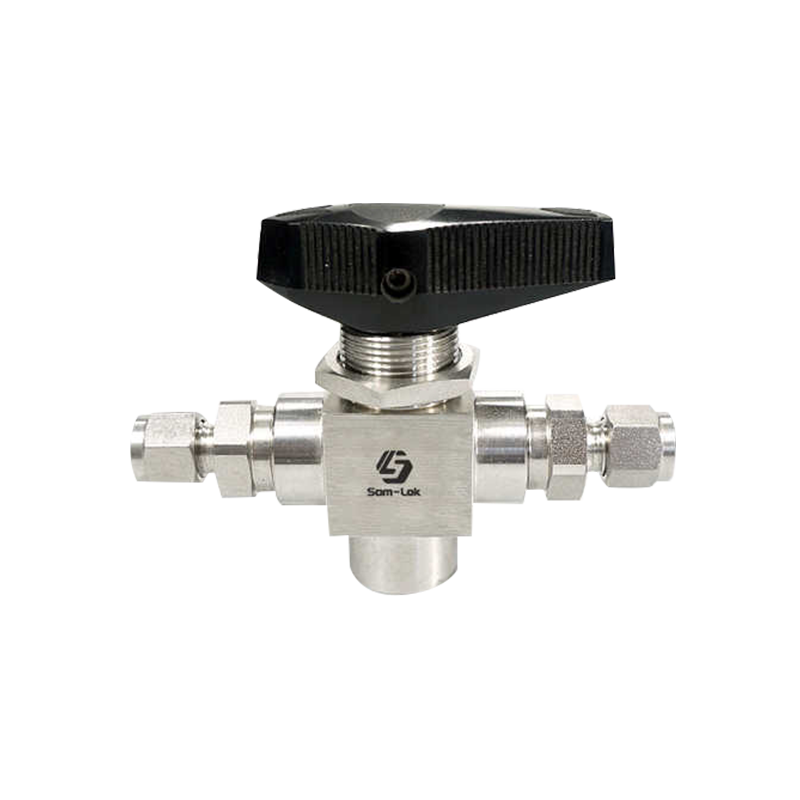 Forged Trunnion Ball Valve with Spring-Loaded SeatsIts trunnion design absorbs load to keep seals leak-free, with pressure ratings up to 10,000 psig for demanding high-pressure pipeline applications.View Product →
In high-pressure lines, look for a forged trunnion design, because the trunnion absorbs the load from the ball and keeps the stem seal from carrying all the stress. That design choice directly affects how long the valve stays leak-free.
Practical Habits to Prevent Future Leaks
In our experience, most ball valve failures follow familiar patterns. A few simple habits will keep your valves sealing properly for much longer:
- Choose the correct pressure rating and connection style for the application. Undersized valves wear faster.
- Avoid leaving ball valves half-open for extended periods. The exposed seat collects debris and dries out.
- Cycle infrequently used valves a few times each month to keep seats and stem seals in good condition.
- Support the piping near the valve so external loads do not distort the body.
- Use a second wrench on the valve body when tightening connection nuts, so you never twist the body out of shape.
A leaking ball valve does not have to stay a mystery. Identify the source, decide whether it is a stem, connection, body or seat problem, and follow the repair steps that match. With basic tools and a careful approach, you can bring many valves back to leak-tight service. And when a valve has truly reached the end of its life, replacing it with a well-made ball valve is more than a repair; it is protection for the whole system. For a closer look at the industrial ball valves, tube fittings and related components we produce, visit our homepage.
