
 Español



If you have been searching for how to change a ball valve diaphragm washer, you probably have a valve in front of you that is dripping or no longer seals cleanly. In domestic plumbing, the term “ball valve” often refers to the float-operated fill valve inside a toilet cistern, and the small rubber part that stops the flow is called a diaphragm washer. In industrial fluid systems, the construction of a ball valve is different, but the maintenance habit is the same: inspect the sealing element, replace it when it hardens or deforms, and reassemble carefully.
Over the years, we have helped customers across process plants, instrumentation loops, and hydraulic systems keep their valves in service. This guide combines that experience with the practical steps you need to finish the job without causing new leaks.
Understanding the Sealing Arrangement in a Ball Valve
A true industrial ball valve uses a rotating ball with a cylindrical bore to start or stop flow. The main sealing components are the valve seats, stem seals, and sometimes a blowout-proof stem. It does not normally contain a rubber diaphragm washer in the flow path. If you open a quarter-turn ball valve, you will find PTFE seats around the ball, an O-ring or packing behind the stem, and little else.
So why does the phrase “diaphragm washer” appear so often? Because in many household and light-commercial valves — especially the float valves commonly called ball valves — a flexible diaphragm washer is the component that stops water when the float rises. The replacement procedure is a useful skill, and the same cautious approach applies to industrial valves when you are changing a soft seal or gasket.
If you need a refresher on the internal parts of a quarter-turn ball valve, our article on how a ball valve works covers the components and selection criteria in more detail.
Tools and Replacement Parts
Before starting, gather the right tools. You will typically need an adjustable wrench, screwdrivers, pliers, a clean cloth, a small pick or scraper, and a manufacturer-approved seal kit. If the valve is flanged, you may also need a torque wrench for the flange bolts.
Choosing the correct seal material is more important than the exact shape. A washer that is too soft for the media may swell; one that is too hard may not seat properly. The table below outlines common materials we recommend in industrial and plant maintenance.
| Material | Properties | Typical Applications |
|---|---|---|
| NBR (Nitrile) | Oil and fuel resistant, economical | General hydraulic and lubrication systems |
| EPDM | Good hot water and weather resistance | Water, steam, and mild chemicals |
| PTFE | Excellent chemical resistance, low friction | Corrosive fluids and low-torque valve seats |
| Viton (FKM) | High temperature and aggressive chemical resistance | Chemical processing and high-heat applications |
When ordering a spare kit, give the valve manufacturer the exact model number, seal size, and media specification. If the original part shows numbers on the edge, keep the old washer for comparison. At our facility, we see many unnecessary repeat repairs caused by installing an undersized or improperly cured seal.
Step-by-Step Replacement Procedure
These steps assume the valve contains a replaceable diaphragm washer or a soft sealing disc under a cap or bonnet. If you are working on a floating ballcock, the process is similar and can be done with the valve attached to the tank, as long as you shut off the supply first.
Isolate and Depressurize
- Close the upstream isolation valve or remove the fill valve from the tank.
- Open the valve slightly to relieve trapped pressure.
- Keep a bucket or rags under the valve to catch residual fluid.
Disassemble the Valve
- Loosen the bonnet or cap that holds the diaphragm washer in place. On a float valve, this is usually the cap at the end of the inlet arm.
- Remove the old washer carefully. Note which side faces the valve seat, because a reverse-installed washer is a common cause of immediate leaks.
- Clean the internal surfaces with a lint-free cloth. Do not use metal scrapers on soft seats.
Fit the New Washer
- Apply a thin film of compatible lubricant to the new washer, if recommended by the manufacturer.
- Place the washer in exactly the same orientation as the old one.
- Reassemble the cap and tighten it just enough to compress the washer. Over-tightening can squeeze the diaphragm out of shape.
Test and Reinstall
- Reconnect the valve and slowly open the isolation valve.
- Check for weepage around the cap and the stem.
- After the first hour of service, retighten if necessary and verify the shut-off action is clean.
Common Mistakes to Avoid
Even experienced maintenance technicians can turn a five-minute washer change into a recurring problem. The most common issues we see include:
- Using the wrong material — for example, installing a general-purpose nitrile washer in hot water service.
- Forgetting the retaining clip or locking ring that keeps the diaphragm seated.
- Cleaning the valve body with a solvent that is incompatible with the plastic or elastomer components.
- Tightening threaded caps with power tools, which damages both the washer and the valve threads.
- Skipping the leak test after a reinstallation. A small weep can quickly become a costly process leak.
If you notice that the stem area continues to leak after a new washer is fitted, the problem may be a worn stem seal, not the diaphragm. In that case, you have to decide whether to replace the stem packing or replace the valve.
When to Replace the Whole Valve Instead
No washer can repair a corroded body or a deeply scratched ball surface. If you see pitting around the valve bore, the ball rotation feels rough even after lubrication, or the body has a hairline crack, it is time to install a new valve rather than chase seals.
For instrument lines, a replacement ball valve should offer tight shut-off and a compact body. Our stainless steel double ferrule ball valve is designed for tube connections in measurement and control applications, and it removes the uncertainty of ageing threaded joints.
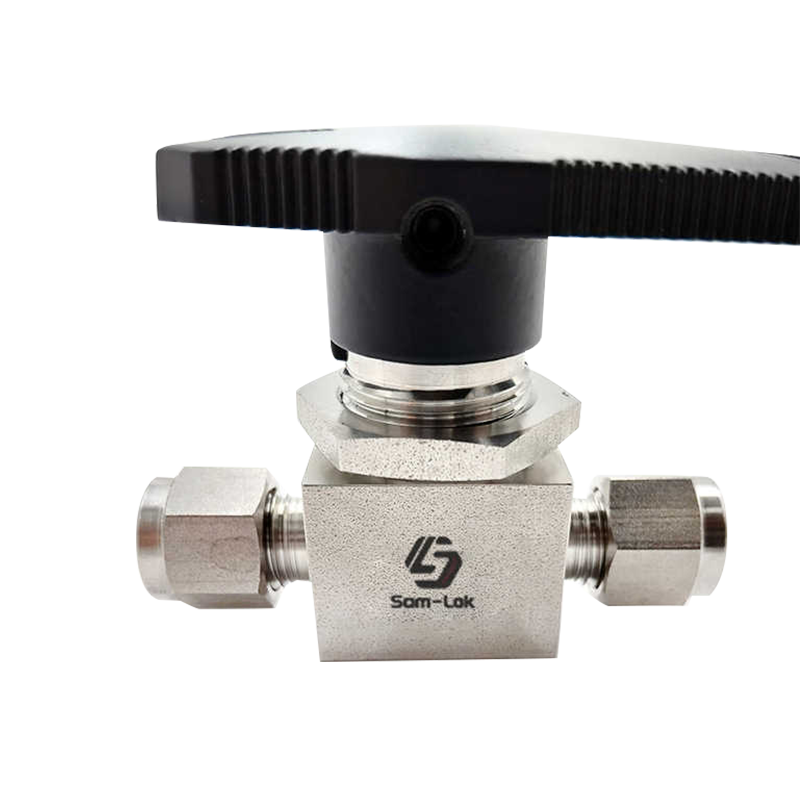 Stainless Steel Double Ferrule Ball Valve for Compact Instrument LinesThis ball valve offers a one-piece body and top-entry design, rated up to 3000 psig, ensuring tight shut-off and easy online inspection for measurement and control systems.View Product →
If your application also needs precise flow throttling — something a ball valve is not meant to provide — a needle valve gives much better control. For one-way flow protection, a check valve automatically prevents backflow without requiring you to adjust anything.
Our general utility service needle valve is a versatile choice for plant maintenance where a reliable sealing element and easy service access matter. For downstream check duty, stainless steel female thread check valves are a simple, robust option.
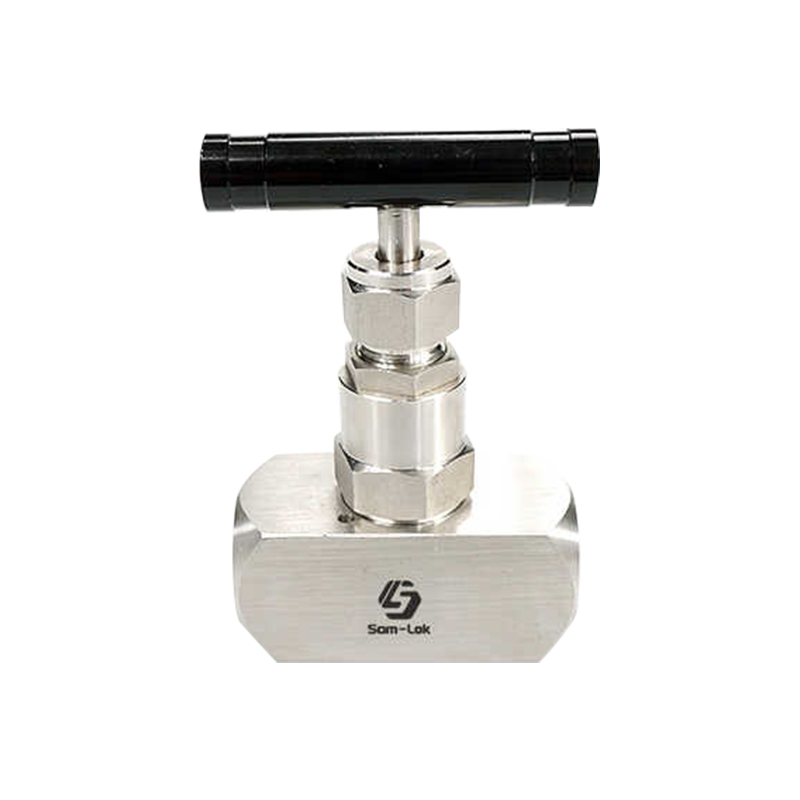 Stainless Steel General Utility Service Needle Valve for Flow RegulationThis needle valve provides precise flow control for water, oil, gas, and corrosive media, with mirror-polished internals and easy maintenance access, ideal for plant service.View Product →
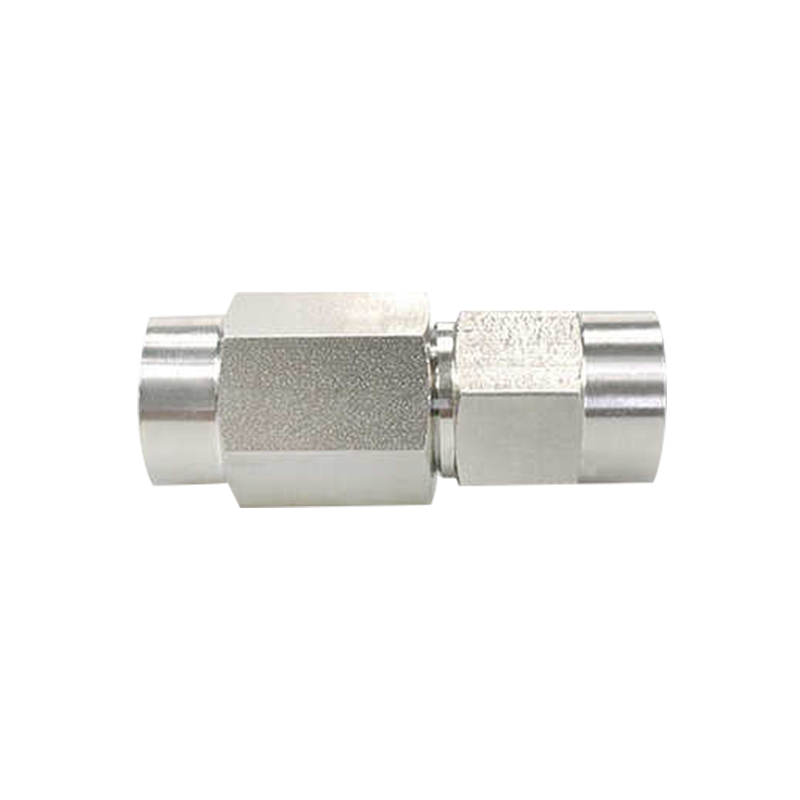 Stainless Steel Female Thread Check Valve for Reliable Backflow ProtectionDesigned for harsh environments with high pressure and temperature, this check valve prevents backflow automatically while offering accurate flow adjustment through its threaded connection.View Product →
Final Thoughts
Changing a ball valve diaphragm washer is a straightforward task once you understand the sealing principle and take the time to do the job cleanly. The most important habit is to verify the seal material before reassembly and to test the valve after every repair. That simple discipline saves hours of downtime and prevents damage to other parts of the fluid system.
As a manufacturer of industrial valves and fittings, we have spent over a decade helping customers with exactly these decisions. Whether you are carrying out routine maintenance or sourcing a replacement valve, the same standard applies: choose quality parts, install with care, and always leak-test before putting the line back into service. You can browse our full range or contact us directly if you need help matching the right component to your system; our engineering team is familiar with both instrument and hydraulic applications. Visit our main page for the complete catalogue.
