
 Español



A leaking isolation valve is rarely just a nuisance. In an instrument air line, a hydraulic skid, or a small process manifold, even a slow drip can hide a damaged seat, a loose packing gland, or a fitting that was never made up correctly. The good news is that many isolation valve leaks can be fixed in place with a careful, methodical approach. The better news is that a few simple checks will tell you whether repair is realistic or whether replacement is the safer choice.
This guide walks through how to fix a leaking isolation valve without guesswork. It covers safe isolation, leak-point diagnosis, common repair steps, pressure testing, and the habits that keep valves leak-free after the job is done.
Put Safety and Diagnosis Before Tools
Before loosening a packing nut or reaching for a wrench, stop the process safely. A valve under pressure can release hot fluid, chemical mist, or a high-pressure jet as soon as a fastener moves. Treat every isolation valve as live until you have proved otherwise.
- Identify the media, pressure, temperature, and any hazardous properties before work begins.
- Close the upstream isolation point, depressurize the line, drain or vent it, and follow your site lockout/tagout procedure.
- Verify zero energy at the valve, not just at the panel or control room.
- Wear the right PPE for the fluid and use a proper leak-detection method for gases.
- Protect nearby instruments and insulation from water, solvent, or chemical spray.
Once the line is safe, clean and dry the valve body, stem, and connections. A dry surface makes it much easier to see whether the leak is coming from the stem, the body joint, the seat, or a tube fitting a few centimeters away.
Find the Actual Leak Point
Many “valve leaks” are really connection leaks. Fluid runs along a pipe or fitting and appears at the valve, so replacing the valve would not solve the problem. Work from the outside inward: check threaded joints, compression fittings, flange bolts, the bonnet, the stem, and finally the seat. If the valve is closed and the leak stops, the seat or downstream piping is the likely area. If it continues with the valve closed, look at packing, body seals, or upstream connections.
| Leak location | Likely cause | First action |
|---|---|---|
| Stem or packing gland | Worn packing, loose gland nut, thermal cycling | Tighten slightly, cycle the valve, then replace packing or stem seals if needed |
| Bonnet or body joint | Loose bolts, aged gasket, corrosion | Clean the joint and retorque in a cross pattern to specification |
| Seat or closed valve | Debris, scored ball or seat, damaged seal | Flush and cycle the valve; replace seats or the valve if damage remains |
| Threaded connection | Incorrect sealant, loose joint, damaged thread | Depressurize, inspect threads, remake with compatible sealant or tape |
| Tube or compression fitting | Improper insertion, damaged ferrule, over-tightening | Cut tubing square and remake the joint with new ferrules where required |
On stainless steel tube systems, do not keep tightening a compression nut to chase a leak. Over-tightening can distort the ferrule and damage the tube, turning a small leak into a tubing replacement. If the fitting has been disturbed or the ferrule is crushed, remake the connection properly.
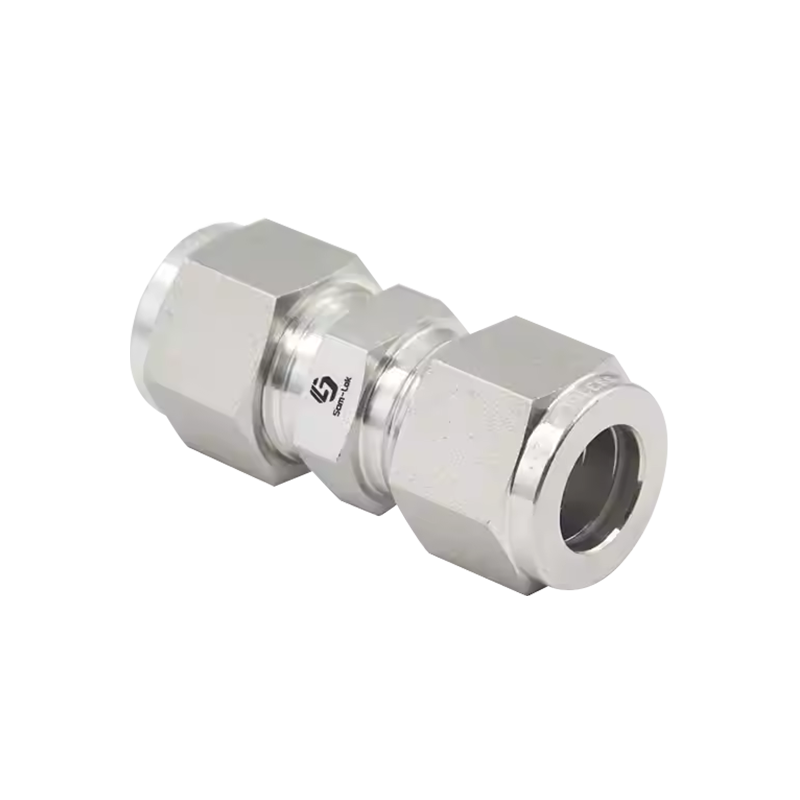 Stainless Steel Union Double-Ferrule Compression Tube FittingsThese forged stainless steel union double-ferrule fittings support proper remake after a disturbed ferrule and maintain reliable high-pressure connections.View Product →
Repair the Valve or the Connection?
The repair path depends on where the leak is and what type of isolation valve you have. Ball valves are common for quick shutoff. Needle valves are common for fine control and instrument isolation. Manifold valves combine isolation, venting, and equalization in one block. Each has different sealing points, so avoid forcing one repair method onto another design.
For a ball valve with a stem leak, a small tightening of the gland nut may be enough, but only within the manufacturer’s allowance. Over-tightening can increase operating torque and damage the stem seal. If tightening does not stop the leak, replace the stem seals or the valve. For a seat leak, flush debris away from the ball and seat, cycle the valve several times, and inspect the seat for scoring. A damaged ball or seat usually means replacement rather than a field repair.
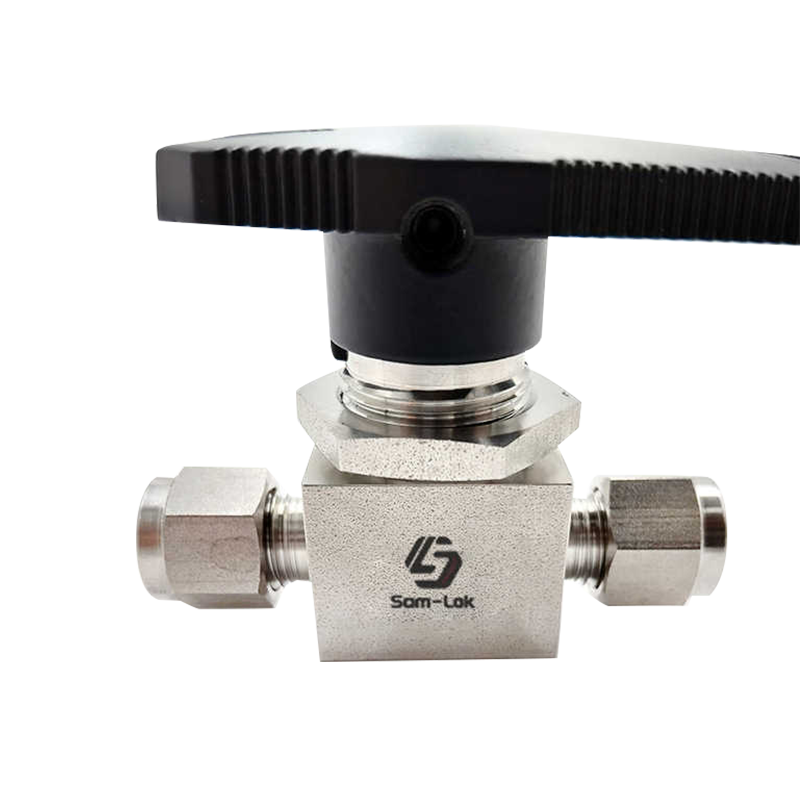 Stainless Steel Double Ferrule Ball ValveThis top-entry stainless steel ball valve supports high-pressure flow control and allows inspection and repair for stem or seat leak checks.View Product →
Needle valves often leak at the packing around the stem or at the bonnet joint. A slight gland adjustment may help, but if the packing is hardened or contaminated, it should be replaced with the correct material for the media and temperature. Do not use general-purpose packing in a high-purity or aggressive chemical duty without checking compatibility.
For connected tubing, the repair may be simpler than a valve overhaul: cut out the damaged section, deburr the tube, and remake the joint with the correct ferrules and assembly procedure. Our field notes on troubleshooting a leaking instrument ball valve follow the same practical logic: confirm the leak point before changing parts.
Step-by-Step Repair for Common Isolation Valve Leaks
Use this sequence as a practical framework. Skip any step that does not fit the valve design, and always follow the valve manufacturer’s torque and parts guidance.
- Isolate and drain. Close the upstream valve, relieve pressure, drain the line, and confirm the valve is at zero energy. Tag the isolation point.
- Mark the leak. Dry the area and watch where fluid first appears. Check the stem, bonnet, body joint, and both end connections.
- Adjust the packing gland carefully. Tighten the gland nut by a small fraction of a turn, cycle the valve, and recheck. Stop if torque rises sharply or the leak worsens.
- Retorque body and bonnet fasteners. Use a cross pattern and the specified torque. Do not guess with a long wrench on small stainless fasteners.
- Clean the seat area. Open and close the valve several times under safe, depressurized conditions where possible. Flush away debris if the design and process allow it.
- Replace worn seals or seats. Use the correct elastomer or metal seat for the fluid, pressure, and temperature. A seal that is compatible on paper but outside its temperature range will fail again.
- Remake tube connections properly. Cut the tube square, deburr it, insert it fully, and follow the ferrule setting procedure. Do not reuse a damaged front ferrule.
- Replace the valve if the body is cracked or corroded. A crack, deep pitting, or damaged thread is not a packing problem. Fit a replacement with matching pressure rating, end connection, and media compatibility.
If the leaking valve is part of a needle valve isolation station, check the packing and bonnet before assuming the seat is worn. A small adjustment can solve a stem leak, but a persistent seat leak after cleaning usually points to a damaged needle or seat.
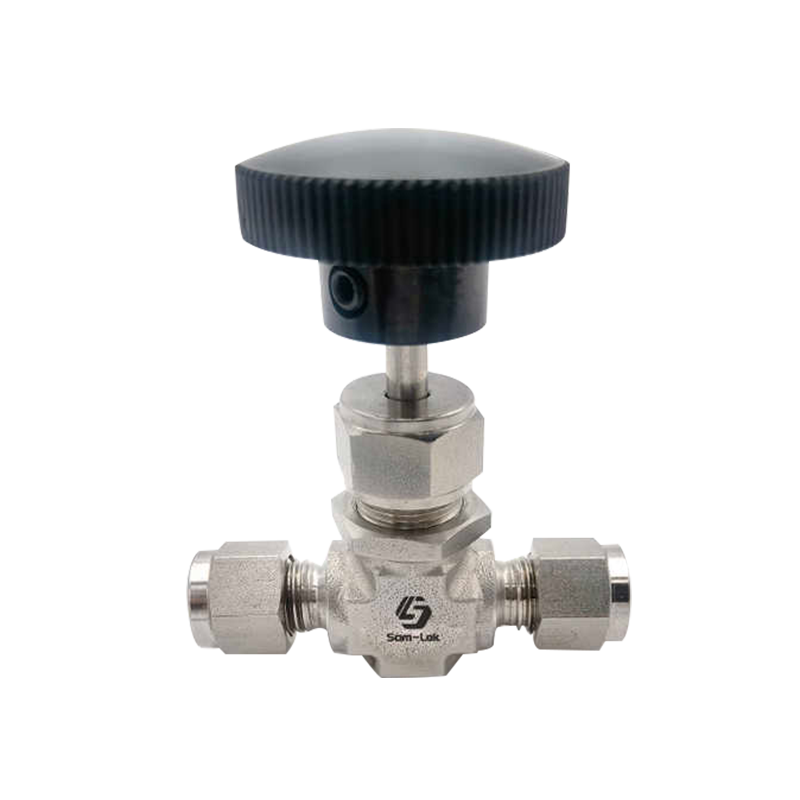 Stainless Steel Integral Bonnet Forged Needle ValveThis forged integral-bonnet needle valve is rated to 6000 psi and suits isolation stations where packing or bonnet leaks need checking.View Product →
When Repair Gives Way to Replacement
Replacement is the better decision when the valve body is cracked, the seat is deeply scored, the stem is bent, or the valve has been tightened so often that the packing gland can no longer hold adjustment. Corrosion that has thinned the body wall is another clear stop sign. A repaired valve must still be able to isolate reliably; a valve that “leaks less” is not a successful repair.
On manifold assemblies, confirm whether the leaking isolation valve is a separate replaceable valve or an integral part of the block. Replacing only the valve when the manifold sealing surface is damaged can leave the system in the same condition. Check the whole isolation and vent path before ordering parts.
Choose the replacement by matching the original duty: media, pressure class, temperature range, end connection, flow requirement, and handle or actuator clearance. A higher-pressure valve is not automatically better if it changes the flow path or makes operation difficult in a tight enclosure.
Test the Repair Before Returning to Service
A repair is not finished when the drip stops. Reassemble the valve, restore the handle or actuator, and check that the valve travels smoothly through its full stroke. Then pressure-test in stages. Start at a low pressure, inspect every joint, and increase slowly to the normal operating pressure. For gas or high-pressure service, use the approved leak-detection method and keep personnel clear during initial pressurization.
- Check the stem, bonnet, body joint, and both end connections.
- Cycle the valve open and closed, then recheck the packing and seat.
- Allow for temperature stabilization before declaring the repair complete.
- Record the leak point, parts used, torque values, and test result for future maintenance.
If the leak returns immediately after a correct repair, stop and reassess. The problem may be system vibration, thermal expansion, water hammer, or a damaged mating surface that was not visible during the first inspection.
Prevent the Next Isolation Valve Leak
Most repeat leaks come from the same small causes: unsupported tubing, excessive tightening, the wrong seal material, dirty media, or a valve that never gets exercised. Support the piping near the valve, avoid using the valve body to pull tubing into alignment, and install a filter or strainer where debris is likely. Operate isolation valves periodically so the seat does not take a permanent set, and keep compatible spare seals or a replacement valve on hand for critical lines.
In our experience, the safest repair is also the least dramatic one: prove the leak point, use the right part, follow the torque and assembly procedure, and test before the line goes back into service. Whether the issue sits in a ball valve, needle valve, manifold, or tube connection, that approach turns a frustrating leak into a controlled maintenance task.
